


Welcome to StackHawk!
To help you get started, we have written this onboarding guide with all the tips and tricks about getting up and running with StackHawk. This post covers how to get started, and will link to the next steps.
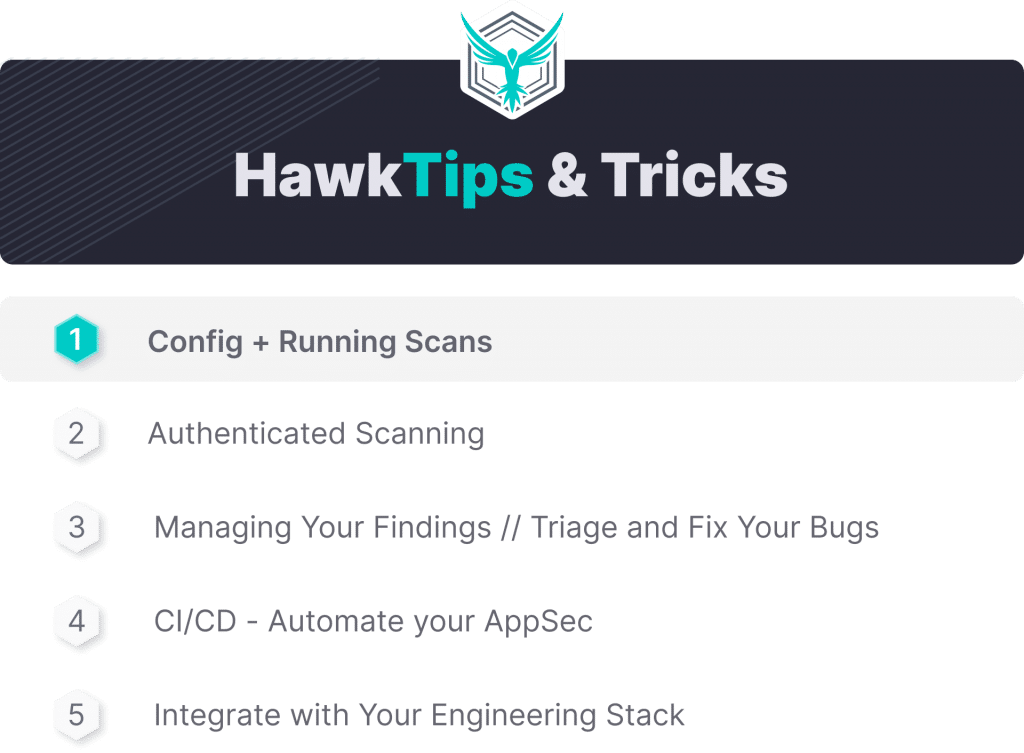
HawkTip #1: Config + Running Scans
StackHawk runs security scans against your running application. Kicking off your first scan typically takes about 15 minutes. You just need to build your config and start a scan . Let’s jump in.
Configuration
StackHawk config is managed through the stackhawk.yml file in your project repo. Download the config from the getting started flow or copy it from our docs . Below are the key elements.
Basic Config
This is all the scanner needs to run.
applicationId : Logical grouping within StackHawk, created in our web app. We recommend testing at the microservice level (more thoughts on that here).
env : What environment is the application running in – Development, Pre-Production, or Production?
host : Where is your application running (e.g. localhost:8080)?
Advanced Config
Get the scanner working right for your application.
Describing Your App: The hawk configuration block is where you can feed in additional information about your application ( docs ). By default, the scanner spiders your app and scans all identified paths. In this section, you can load in OpenAPI spec, enable the ajax spider for single page apps, and more.
GraphQL Scans: If your application is backed by a GraphQL API, you’ll want to set up the graphqlConf block ( docs ).
Authentication: If your application requires authentication, you’ll want to configure this with the authentication block ( docs ). Our next onboarding blog has all the details on authenticated scanning!
Running a Scan
Kicking off a scan is as simple as a single Docker command. An example is below, but hop over to the docs if you are running this on Windows, in PowerShell, or on Linux.
$  docker run --rm -v $(pwd):/hawk:rw -e

$  API_KEY=hawk.xxxxxxxxxxxxxxxxxxxx.xxxxxxxxxxxxxxxxxxxx -it stackhawk/hawkscan:latest stackhawk.yml
Next up, our guide to Authenticated Scanning …
As always, we are here to help at [email protected] .