
Got Tokens?
If you’re working with Single-Page Web Applications, REST APIs, or GraphQL, chances are you’ll need an access token to securely call protected API routes. In an effort to showcase this process, we’ll be configuring HawkScan to work with externally supplied tokens from Auth0. To do this, we’ll clone one of Auth0’s sample React applications, explore how to obtain a valid JWT token, and pass the value into HawkScan’s configuration file at runtime.
? Note: This article describes the process for running HawkScan against web applications that have implemented authentication using access tokens. It is not meant to showcase any vulnerability findings within the Auth0 sample application itself.
Pre-Requisites
You’ll need accounts with StackHawk, Auth0, and Github, and you should have the following software installed on your computer:
Docker
npm – Command-line utility for interacting with JavaScript projects
jq – Lightweight and flexible command-line JSON processor
Generate an API key and save it to ~/.hawk/hawk.rc
Create an application in the StackHawk web app ( Sign up for Free ) and save the stackhawk.yml file to your project folder.
Create an Auth0 Application & API
Dashboard Set-Up
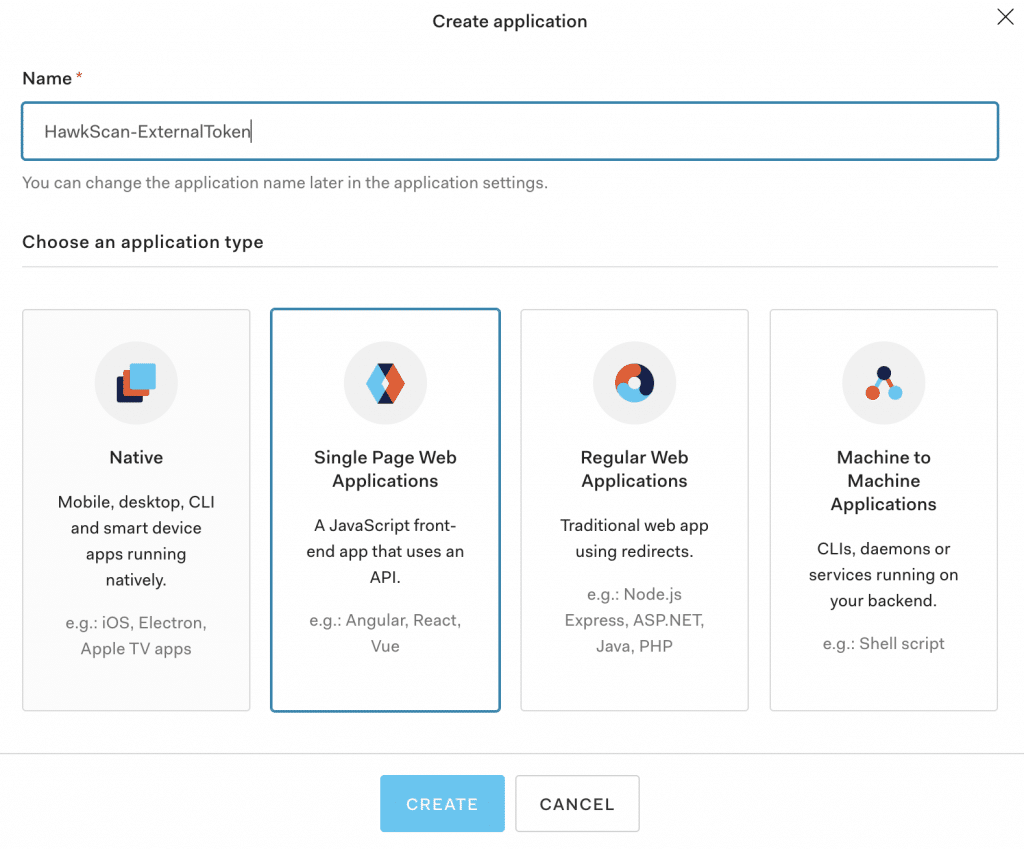
From your developer dashboard, select ‘Applications’ from the left-hand navigation menu. Next, create an application, give it a name, and choose the type. For the purposes of this article, I’ll be using Auth0’s Single Page Web Application.
From the Settings tab, add ‘ http://localhost:3000 ‘ to the Allowed Callback URL, Logout URL, and Web Origin fields. If these fields are not set, the authentication flow will raise an error.
Clone the repository and install the project dependencies
git clone <https://github.com/auth0-samples/auth0-react-samples>
npm install
Next from the src folder under the Sample-01 directory, copyauth_config.json.example
into a new file in the same folder calledauth_config.json
. Replace the values for domain and clientId with the values from your own Auth0 application found in the Settings Tab. Please note, we’ll add the new value for ‘audience’ after creating our API in the next section.
{
"domain": "{YOUR AUTH0 DOMAIN}",
"clientId": "{YOUR AUTH0 CLIENT ID}",
"audience": "{YOUR AUTH0 API_IDENTIFIER}"
}
Lastly, navigate to the Sample-01 directory in your terminal, add execute privileges, and run the exec.sh script to build and run the application via Docker.
cd Sample-01
chmod +rwx [exec.sh]
./exec.sh
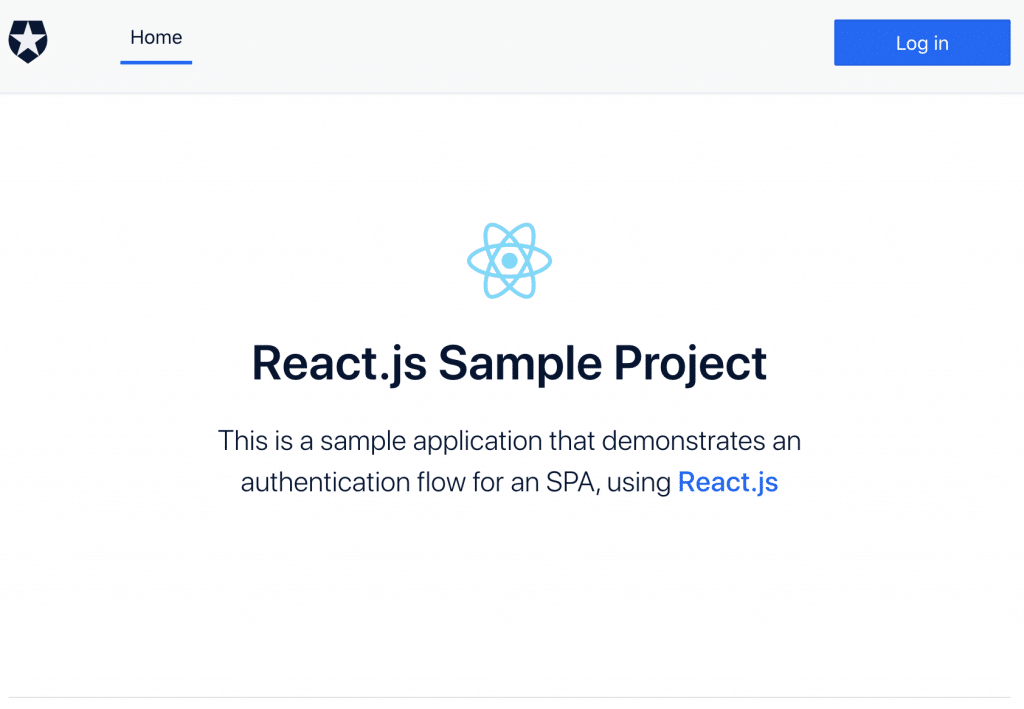
Once the build is complete you will be able to access the application in your browser at http://localhost:3000 . Step through the authentication process to verify that everything works as expected!
API Set-Up
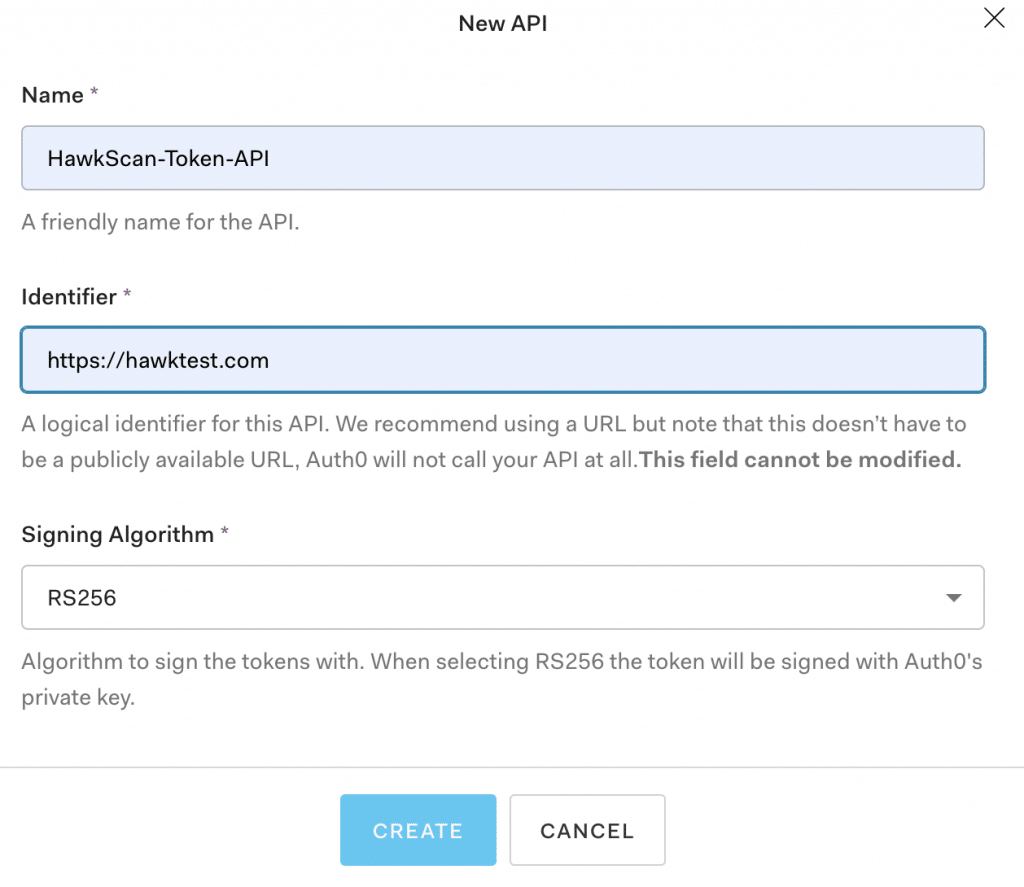
From your developer dashboard, select ‘APIs’ from the left-hand navigation menu. Next, create the API, giving it a name and identifier value. Under the API Settings tab, note that access tokens are only valid for 24 hours by default. If you need a greater value, be sure to adjust this setting.

Finally, add the audience value you just defined for your API to thesrc/auth_config.json
file in the Sample-01 project directory.
{
"domain": "{YOUR AUTH0 DOMAIN}",
"clientId": "{YOUR AUTH0 CLIENT ID}",
"audience": "{YOUR AUTH0 API_IDENTIFIER}"
}
Verify that your API is accessible via auth token:
Restart your docker image
Login to the application
Navigate to the External API tab
Select the “Ping API’ Button
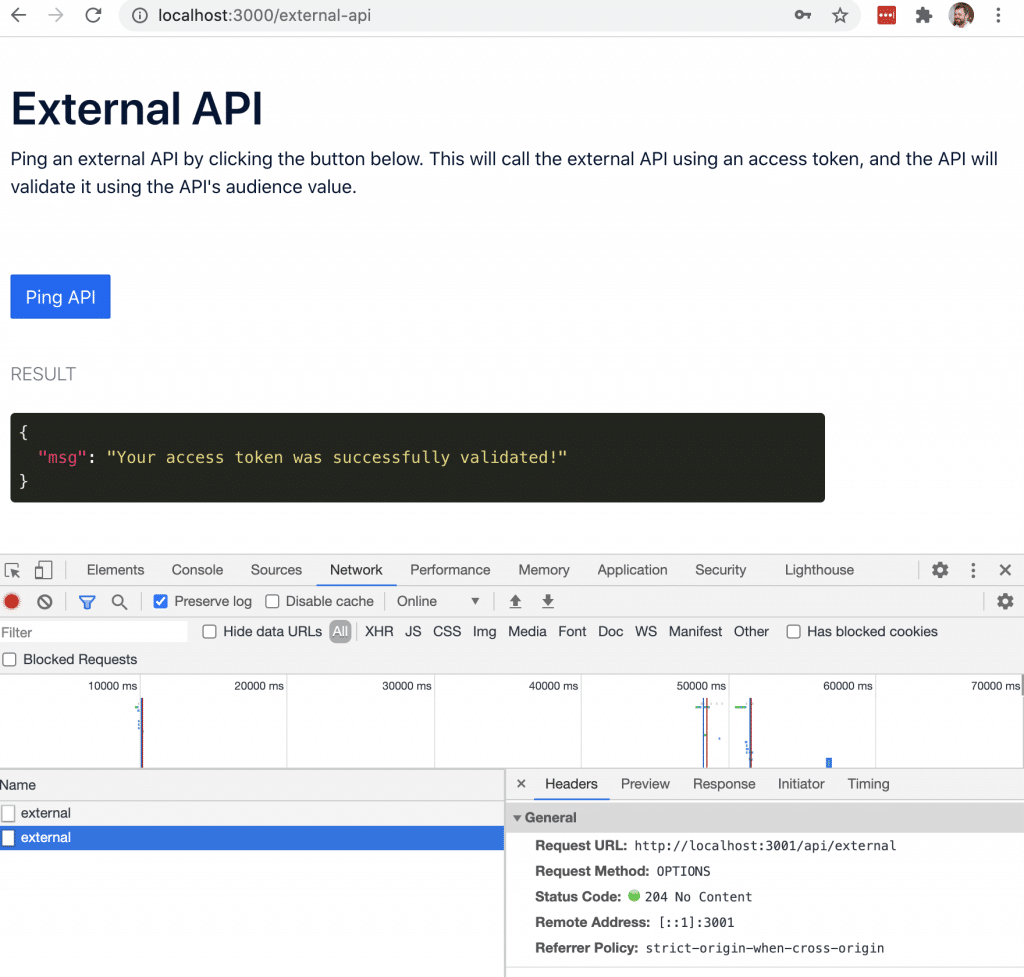
If configured correctly you should see a result that says “Your access token was successfully validated”.
Go through the login process one more time, only this time record the network activity with your browser’s developer tools. If you do this, you’ll notice that when you select the “Ping API” button the requested URL is different than what is shown in the browser’s address bar. While the React app is served on port 3000, the backend API server is actually started on port 3001. Therefore any call to the API will require you to use port 3001 rather than 3000.
Configuring HawkScan for Auth0
Now that our application is working and we have a better understanding of how the authentication process works, let’s step through how to pass the access token value to the HawkScan configuration file at runtime.
For first part of the process, requesting a token, Auth0 provides great step-by-step instructions within the developer dashboard under the API’s Test tab. Additionally, the dashboard outlines these steps in multiple languages, including Ruby, Python, and Node.js.
Step One: Request a Token
Request
curl --request POST
  --url <https://dev-h1uc4uvp.us.auth0.com/oauth/token>
  --header 'content-type: application/json'
  --data '{"client_id":"{YOUR AUTH0 CLIENT ID}",
  "client_secret":"{YOUR AUTH0 CLIENT SECRET}",
  "audience":"{YOUR AUTH0 API_IDENTIFIER}","grant_type":"client_credentials"}'
Response:
{
  "access_token": "{YOUR TOKEN VALUE}",
  "expires_in": 86400,
  "token_type": "Bearer"
}
Step Two: Call the API with the token returned
Request
curl --request GET
  --url <http://localhost:3001/api/external>
  --header 'authorization: Bearer {YOUR ACCESS TOKEN}'
Response:
{
  "msg": "Your access token was successfully validated!"
}
Step Three: Pass the token value to HawkScan at runtime
First, create a file namedpassToken.sh
in the Sample-01 directory and copy and paste the following code.
#!/usr/bin/env bash
token=$(curl --request POST
--url <https://dev-h1uc4uvp.us.auth0.com/oauth/token>
--header 'content-type: application/json'
--data '{"client_id":"{YOUR AUTH0 CLIENT ID}",
"client_secret":"{YOUR AUTH0 CLIENT SECRET}",
"audience":"{YOUR AUTH0 API_IDENTIFIER}",
"grant_type":"client_credentials"}' | jq -r '.access_token')
source ~/.hawk/hawk.rc
docker run -e API_KEY=${API_KEY}
-e AUTH_TOKEN=${token} --rm -v $(pwd):/hawk:rw -it
stackhawk/hawkscan:latest
This simple script accomplishes three things:
- It passes the response of our token request to the JSON processor (jq
) and saves the value of theaccess_token
to the variabletoken - Itsource‘s the hawk.rc file, making your StackHawk API key available in the current shell environment.
- Builds and runs HawkScan via Docker, passing in both theAPI_KEY andAUTH_TOKEN values to be included in the stackhawk.yml file.
Second, format your stackhawk.yml file to support external token authorization.
# stackhawk configuration for Auth0-React-Sample
app:
  applicationId: {YOUR APP ID} # (required)
  env: Development # (required)
  host: <http://localhost:3001/> # (required)
  authentication:
   loggedInIndicator: "\\Qvalidated\\E" # (required)
   loggedOutIndicator: "\\QLog in\\E" # (required)
   testPath:
     type: HEADER
     path: /api/external
     success: ".*200.*"
   external:
     type: TOKEN
     value: ${AUTH_TOKEN}
   tokenAuthorization:
     type: HEADER
     value: Authorization
     tokenType: Bearer
Configuration Definitions:
applicationId: Unique ID for organizing your scan results by app or microservice in the StackHawk Platform.
env: The name of your staging environment, corresponding to your application in the StackHawk platform.
host: The url of the application to scan. In this case, our API server is running on
localhost:3001loggedInIndicator: When this regex pattern is present in the HTTP response (header or body), it signifies the user is logged-in.
loggedOutIndicator: When this regex pattern is present in the HTTP response (header or body), it signifies the user is logged out.
testPath: The path to a protected route in your application that requires authorization. Example: /api/external.
tokenAuthorization: These values are the same as the curl command
- external.value: Accepts thetoken value passed in as an environment variable at runtime.
Step Four: Run the Script
Once you’ve saved your changes to both of the files above, run the script to kick-off HawkScan.
./passToken.sh

Notes
At StackHawk we believe in simplifying the process of building and delivering secure code. If you can run a basic curl command to obtain an access token, you can easily configure HawkScan for testing protected routes. Additionally, our configuration as code approach makes reproducing scans across environments as easy as copy and paste. Take the guesswork out of finding and fixing security vulnerabilities and sign-up for a StackHawk account today!


