


Fixing High or Medium severity issues on the fly is ideal, but there are many circumstances where immediate remediation is not an option or necessary.
Dynamic application security testing limits the noise of false positives better than code scanning tools, but Low critical findings can get pretty noisy if neglected for too long. The last thing you need is high-severity issues to be drowned out by low-priority alerts.
Enter triaging…
Triaging Findings
Quiet the noise and focus on what matters.
Chances are your first scan returned a decent size list of bugs. As a first step, we recommend triage to establish a baseline and bring new findings front and center. With your initial findings triaged you can focus on fixing net-new security bugs as you develop software.
How it works
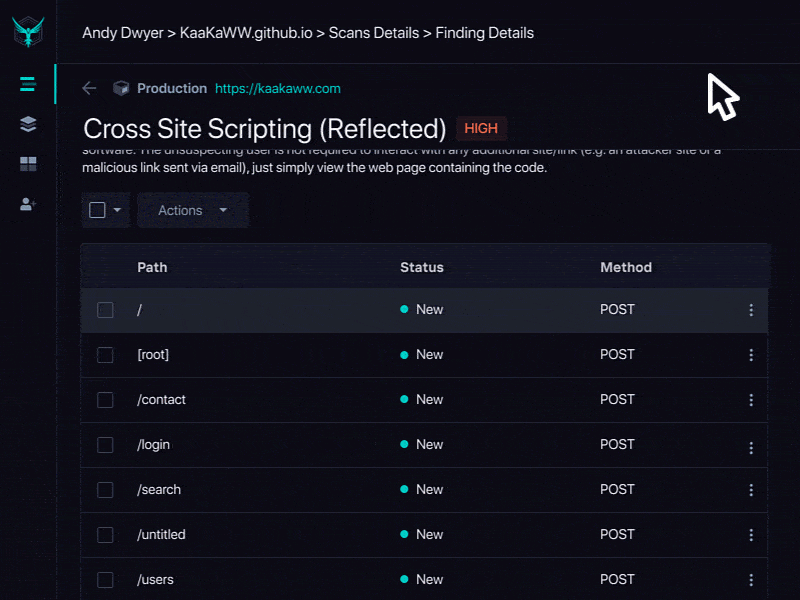
In the StackHawk platform, select one or more findings and triage with the Actions drop-down.
Understanding the Finding Status
Let’s dig into the Finding Status a bit more to learn what each one means and how to use them appropriately.
New
Findings marked as New are waiting for your attention. These are items that need to be fixed or triaged to update the status.
Assigned
Assigning a finding means the issue needs to be reviewed and/or remediated if necessary. Once Assigned, you can send the issue to Jira or Azure DevOps Boards to track all of your code quality issues in one place.
Risk Accepted
For one reason or another, there may be findings you elect not to fix and can mark as Risk Accepted. For example, if you use a trusted third-party JavaScript tool such as New Relic for APM or Segment for event tracking, it may trigger a Cross-Domain JavaScript Source File Inclusion finding across multiple paths. In this case, you would mark all paths with the included script as Risk Accepted.
False Positive
Scan results may also include findings that are actually false positives and do not require a fix. These can be marked as false positives to quiet future noise.
Triaging Tips
Now that you’re familiar with the statuses, it’s time to triage. Here’s what we recommend:
Fix critical bugs now: Prioritizing which bugs to fix depends on your particular application, but a great place to start is by fixing any bugs marked as High criticality.
Risk accept where applicable: If you know that any of the identified bugs are an acceptable risk, mark them now to avoid being alerted in the future.
Assign the rest for prioritization: For many teams, the majority of findings will be assigned for further investigation or prioritization discussions. Integrating StackHawk with your preferred project management tool makes it easy to track assigned issues and incorporate them into sprints.
Fixing Bugs
When you are ready to fix the security bugs alerted by your scan, here are a few tips:
Request/response details : When you click on a particular path within a finding, you will see the Request and Response information associated with the bug. Use this to understand what is happening with the bug.
Finding validation : Click the Validate button to generate a curl command to recreate the exact request (attack) of the particular finding. Put your IDE in debug mode and step through the code to help figure out how to fix the bug.
Fix validation : Click the Rescan Findings button to confirm a vulnerability is fixed before pushing code to your remote repository. Rescan tests only the findings alerted in your previous scan, making it quick to iterate on remediations. When the finding no longer raises an alert, go ahead and open that pull request.
Takehome Challenge: Triage Initial -or- backlogged Findings
The results of your first scan can be daunting but it’s best to rip the bandaid off, establish your baseline, and focus on new findings going forward.
Here are two ways to work through your initial findings or the backlog you’ve been avoiding:
Option 1: Assign findings according to your team’s workflow. This might mean that Medium and Low risk findings go into the engineering backlog for prioritization while High risk findings are pulled into the current sprint.
Option 2 : Assign all items to your security team for thorough review and prioritization.
Set aside some time this week to give it a try. If you run into any issues ask for help!
Get help quickly and easily by emailing [email protected] , or through our in-app chat.
Read more :